App & On-Site Management Guide
This article covers how to prepare for your event, including information on scanning tickets and making on-site sales.
- Checklist for Before Your Event
- Navigating the App
- Checking in Tickets
- Box Office Sales
- Stripe Credit Card Readers
Checklist for Before Your Event
- Devices- Ensure all your check-in and sales devices meet the minimum requirements and are fully charged. For phones and tablets, Apple devices running iOS 14 or greater and Android devices on software version 7 or greater are supported. The app should be updated to the most recent version available in the App Store.
- Connectivity- It's strongly recommended to have access to a private Wi-Fi connection. If possible, it's recommended to use devices that are cellular and Wi-Fi enabled.
- User Logins- Verify that the users managing your event can log in to the app and have the correct permissions.
- Staff Training- Review how to use the app with your on-site staff and ensure they have access to the correct user login.
- Check-in List- In case of device or connectivity issues, it's recommended to have a downloaded or printed list of your event attendees. You can download this file on the web platform under Box Office & Check In > Check In Attendees.
- Credit Card Readers (optional)- If you are making on-site sales, it's strongly recommended to have a card reader. We recommend the Stripe M2 reader.
Navigating the App
To get started, open the app and sign in with your email and password. You'll then see a list of your upcoming events.

Next, select the event you are managing to open the event dashboard.
Note: If your event has multiple access points, select the specific Access Point you are managing check-ins or sales for after opening the event.
Checking in Tickets
There are two methods to check in tickets.
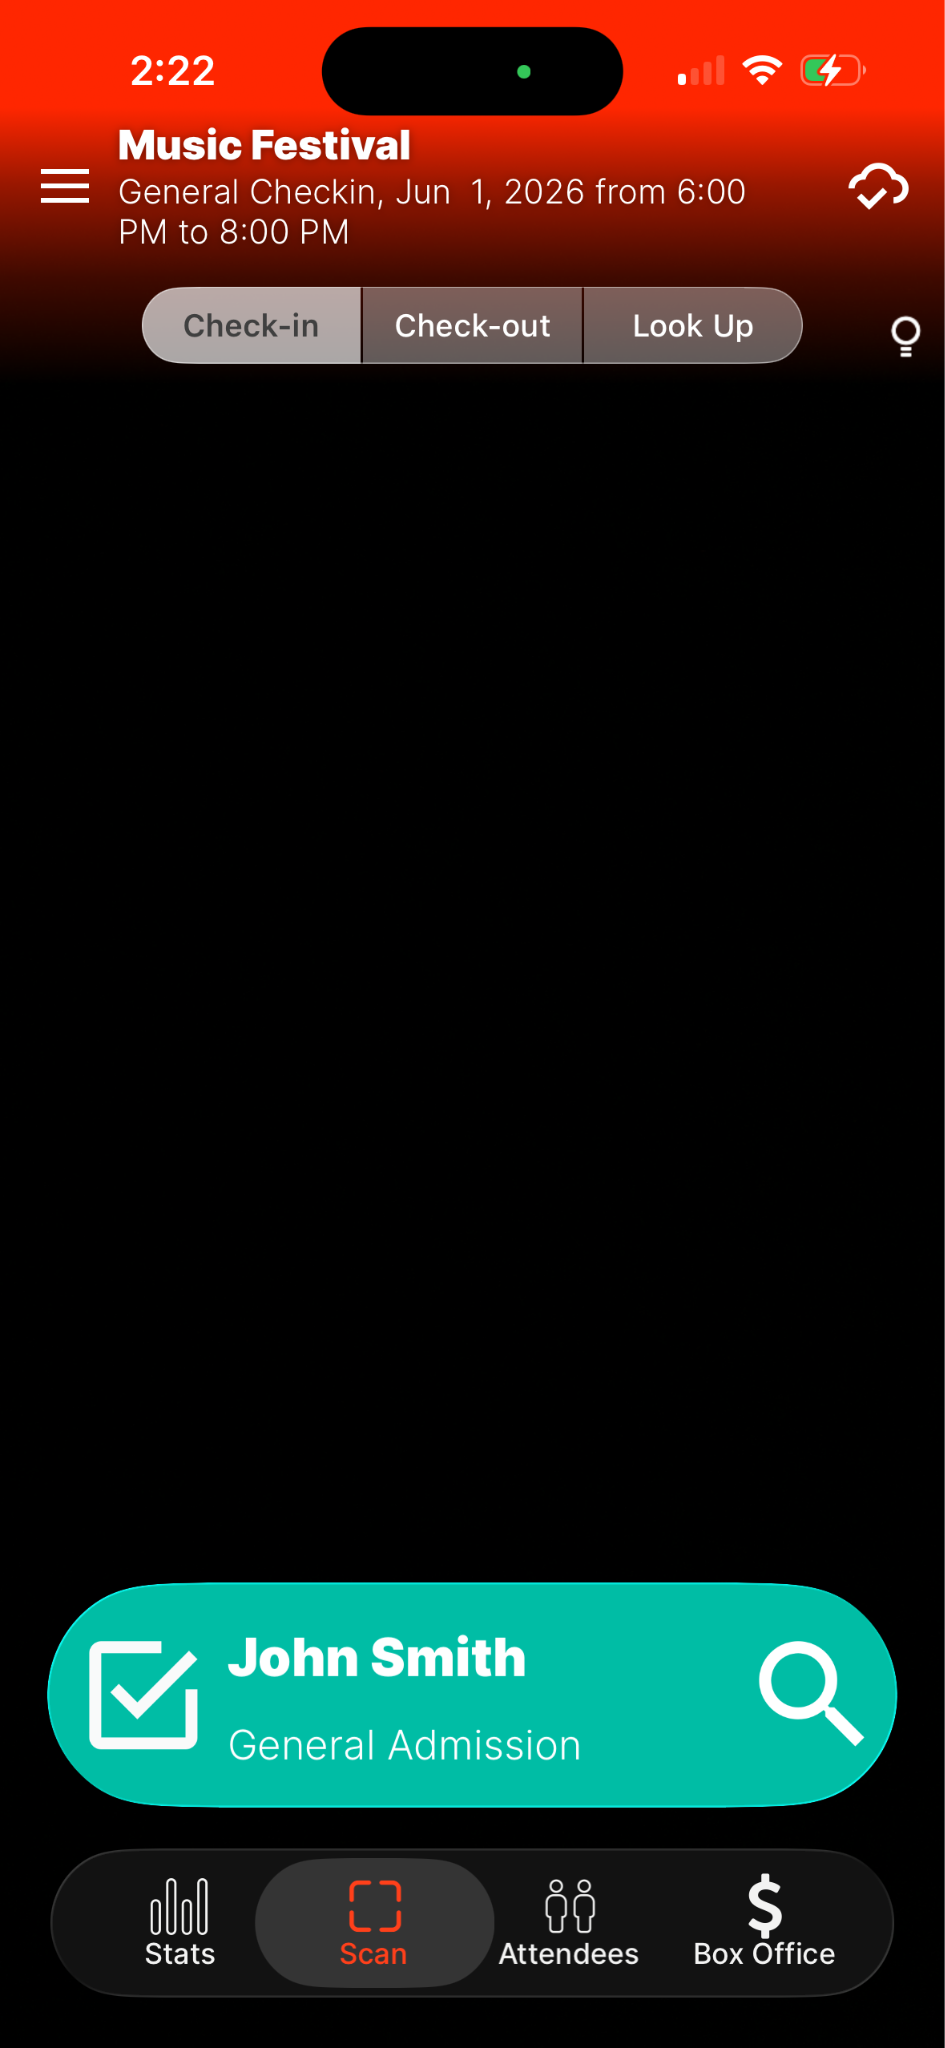
- Camera Scan- Open the Scan tab and put the attendee's QR code in view of the camera. If the ticket is successfully checked in, a confirmation message will appear.

Example of invalid scan messages:
-
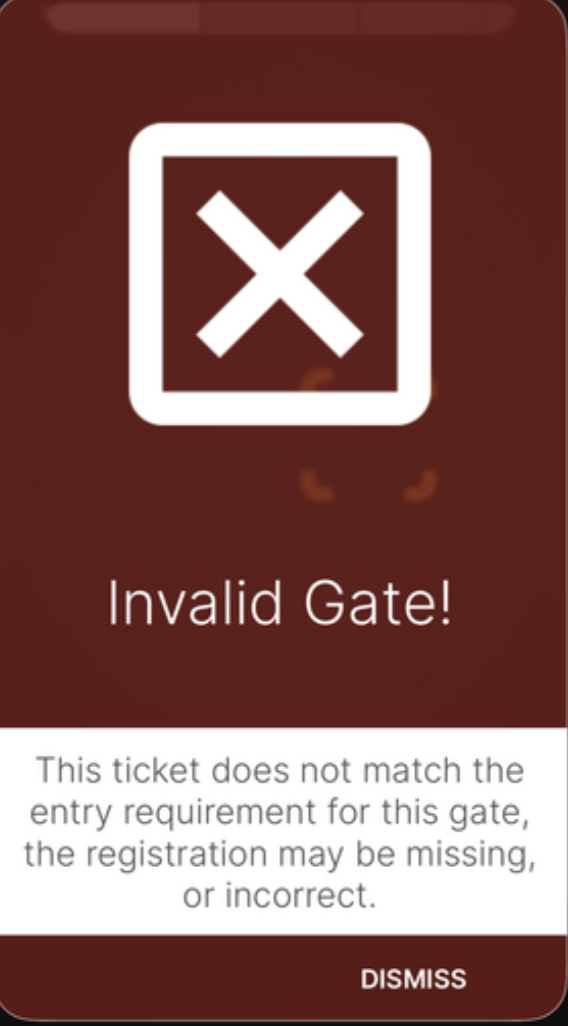
Wrong Event -

Incorrect Access Point -
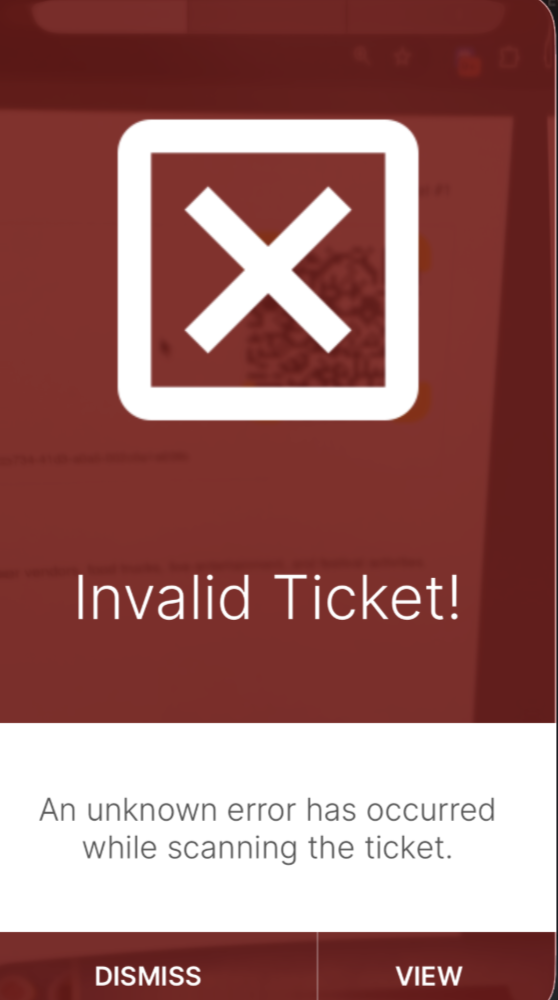
Voided Ticket - Manual Lookup- Open the Attendees tab, and type the order name in the search bar. Then, click the green ticket icon next to their name to check that ticket in. If you click on the attendee's name, you can view their order to check in any additional tickets.


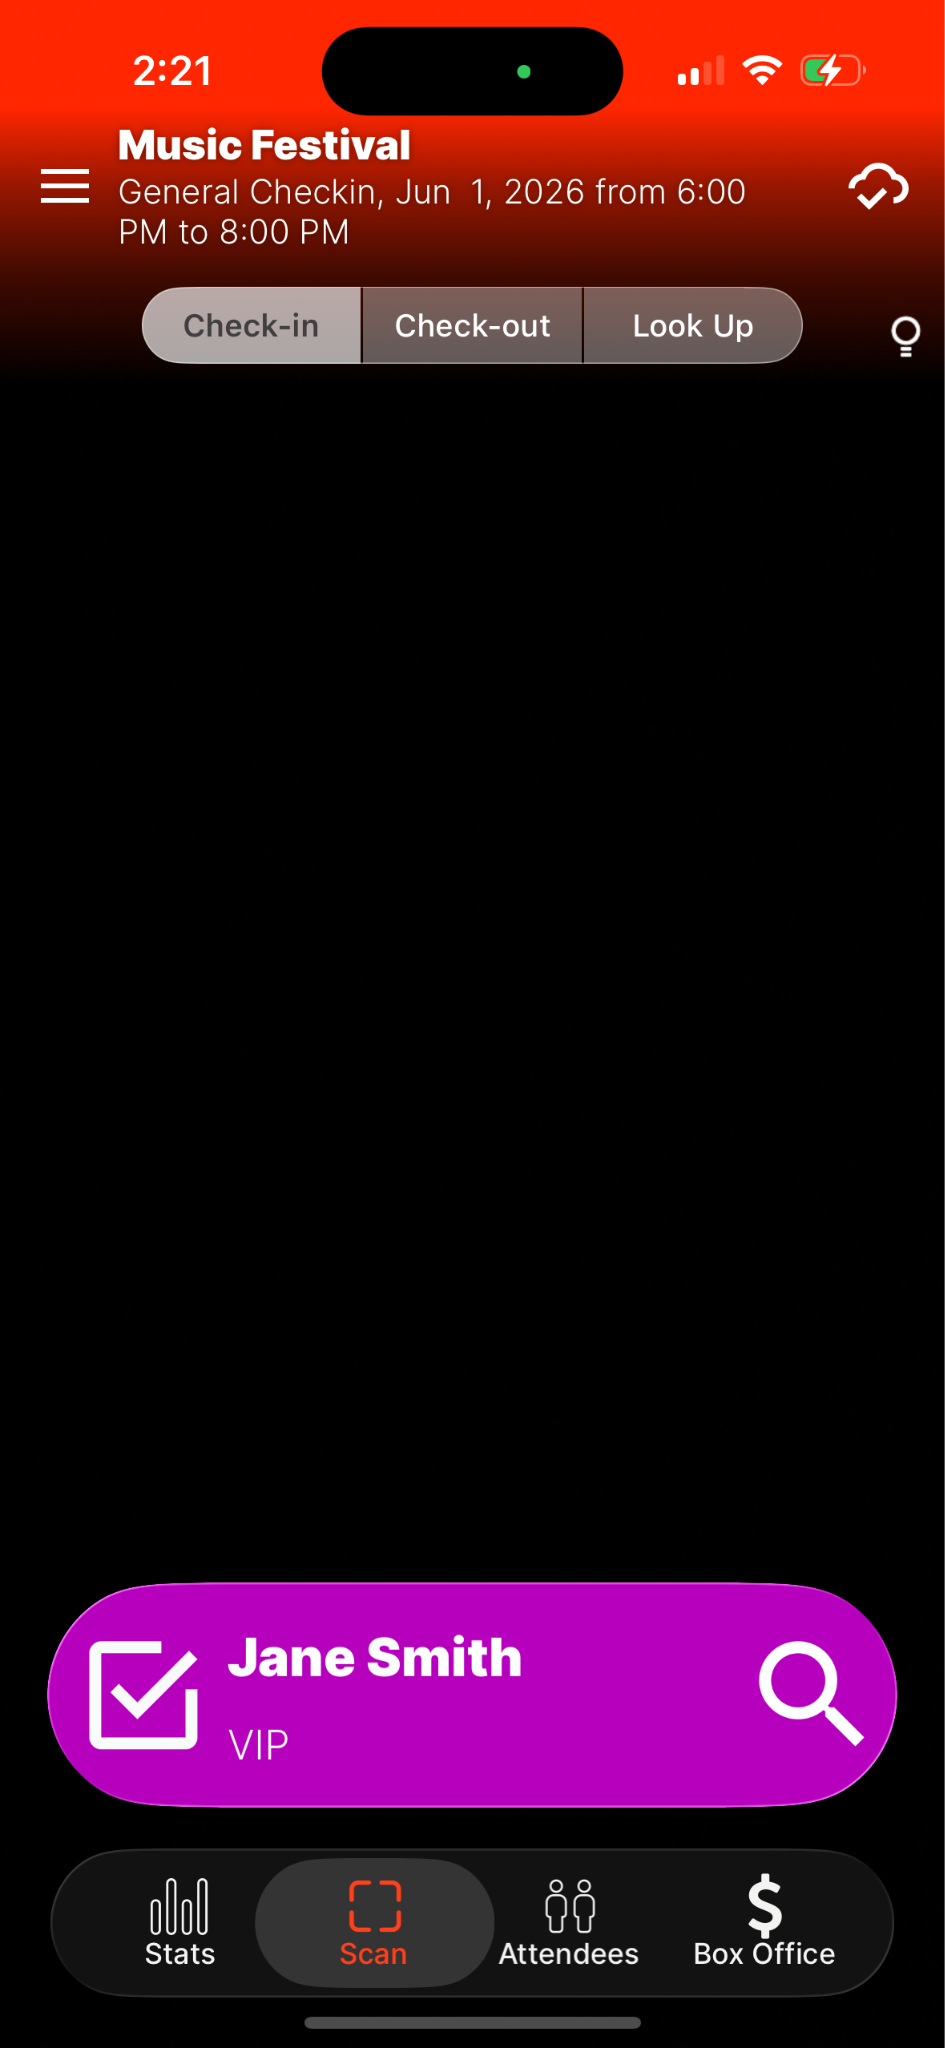
(iOS & Android) Custom Scan Color by Ticket Type
You can now set a custom scan color for each ticket type to easily confirm if attendees are in the right check-in area!
The scan color is customizable per ticket type and can be updated via Ticket Type Settings > Advanced Settings > "Mobile App Custom Scan Color."
"Double Scan" Messaging
The app will now display "Ticket just scanned!" instead of "Already checked in!" when the same ticket is scanned twice in succession, within 15 seconds of each other.
Box Office Sales
To create orders via the app, navigate to the Box Office tab. Then, add the desired tickets to the cart and select a payment method.

Credit- Pay with a credit card. If a card reader is attached, you can read the card after selecting credit as a payment method.
Cash- Pay with cash. You can calculate the customer's change by entering the amount of cash provided in "Cash Tendered".
Complimentary- For comp orders, no payment is required. Only users with permission to create comp orders on the web platform can issue comp tickets via the app.
After selecting a payment method, complete the necessary order details. For credit payments, it's required to add an order name. For cash and comp orders, if no name is provided then it will be prefilled as "Cash Order" or "Comp Order". Then, select "Submit Order" to create the order.

By default, when an order is placed through the app the tickets will be automatically checked in. You can customize this on the web under Edit Tickets & Merch > Ticket Settings > "Auto-tear tickets Purchased via App".
Stripe Credit Card Readers
Stripe card readers are the recommended method for accepting on-site payments. To connect a Stripe reader:
- Verify that Bluetooth is enabled on the phone or tablet
- Navigate to the Box Office tab
- Turn on the Stripe card reader
- Click the reader icon in the top right corner of the app
- If prompted, grant the app permission to use your location and Bluetooth
- Select the reader you'd like to connect to

After the reader is successfully connected, you can use it to read cards via swipe, chip, or tap. After adding items to the cart and selecting credit as a payment method, you'll see a notification that the reader is ready.

