Printing BOCA Tickets
Printing hard stock tickets has never been easier. Our platform is enabled to print 2x5.5” tickets to a BOCA thermal printer for on-site sales or pre-event ticket printing. This feature is only available on the web using the web box office tools. Use this guide to find out more about BOCA printed tickets, printing specifications, and more.
This help article includes:
- Ticket Specifications
- Supported Printers & OS Settings
- Supported Internet Browsers
- Enabling Boca Ticket Printing
- How to Print Boca Tickets
Ticket Specifications
Ticket Size
Customized Ticket Stock

When inserting the stock into the printer, the side with the black bar should be facing down.
Supported Printers & OS Settings
Supported Printers
To print BOCA tickets, we recommend using the standard Lemur Printer with USB connection available from Boca Systems. Any BOCA printer capable of printing 2x5.5” tickets should also work, but please contact your support representative to check your printer’s compatibility.
Please make sure to update your computer’s default printer settings for your BOCA printer in the instructions below to ensure your tickets print properly.
System Settings on Windows
On a Windows device, the printer’s default settings need to be set to ‘Landscape’ Orientation and ‘Concert Ticket’ sized paper.
- Plug the BOCA printer into the power supply & connect to your computer via the USB cable.
- The printer driver should automatically download and install, but if it does not, please install your correct printer driver from Boca Systems.
- Go to Settings > Printers & Scanners and find your recently installed BOCA printer.
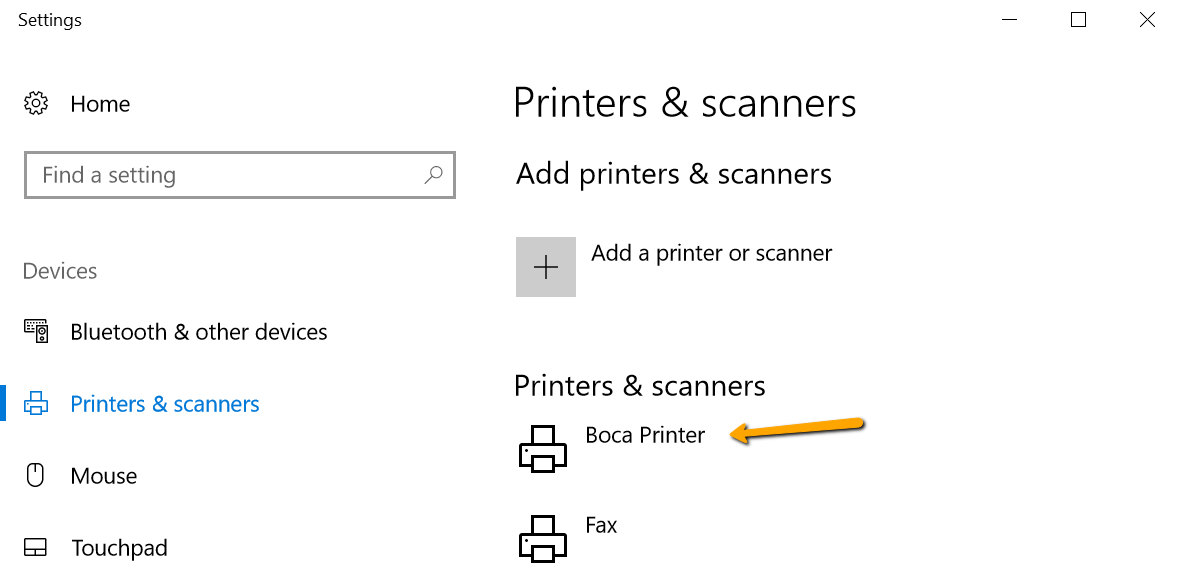
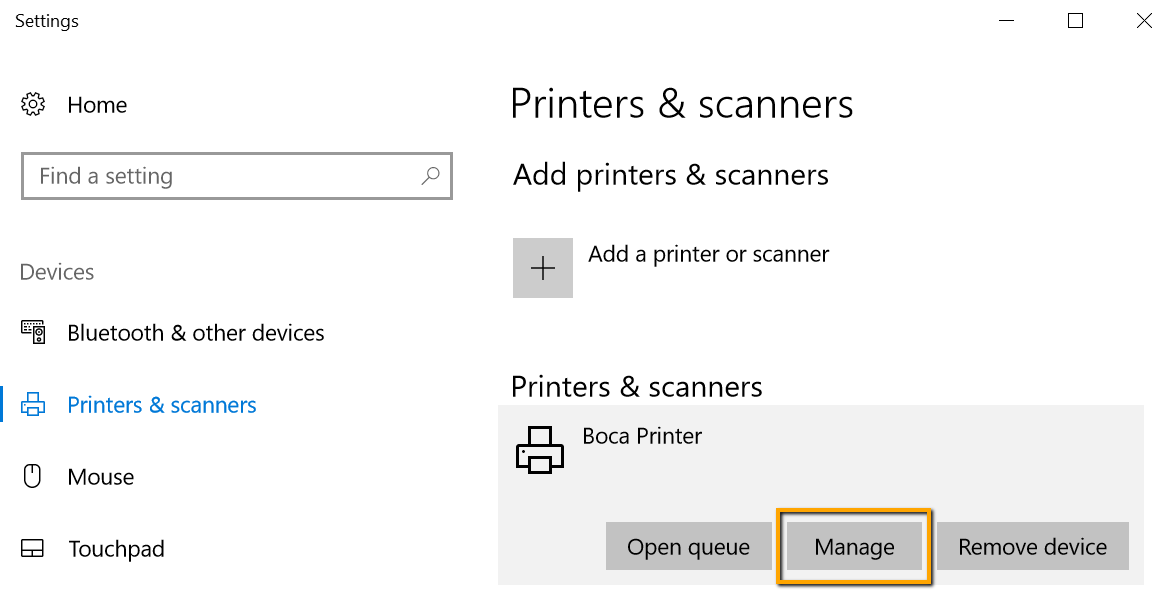
4. Select the BOCA printer and click ‘Manage’
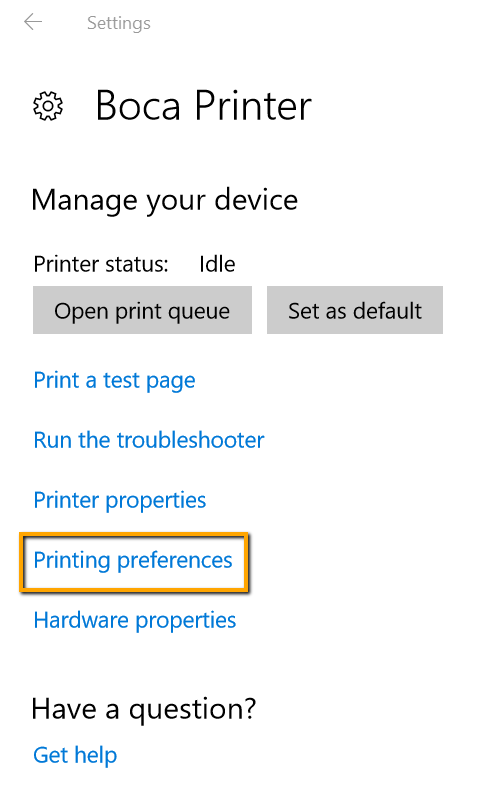
5. Select Printing Preferences from the menu
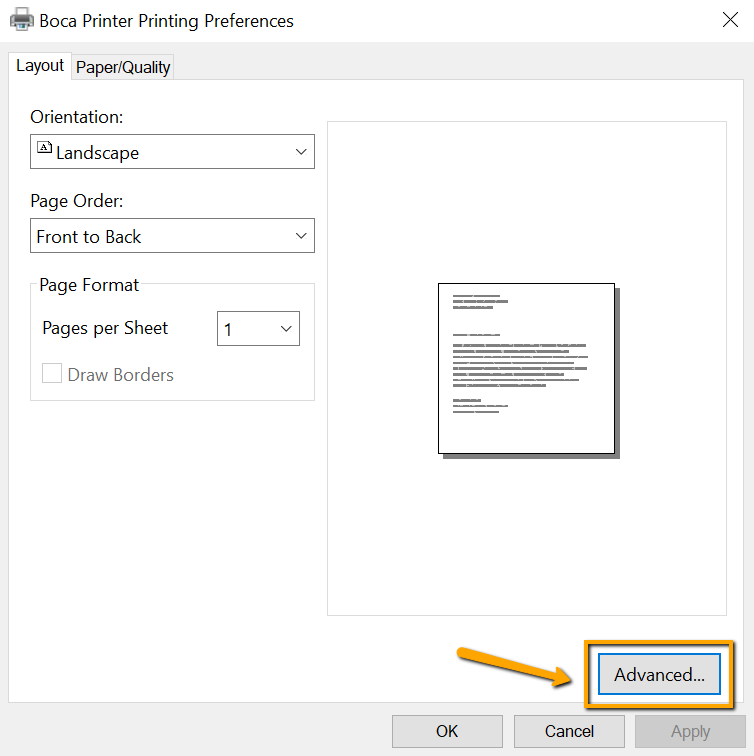
6. Set the ‘Orientation’ to Landscape and hit ‘Apply’ and change ‘Page Order’ to ‘Back to Front’.
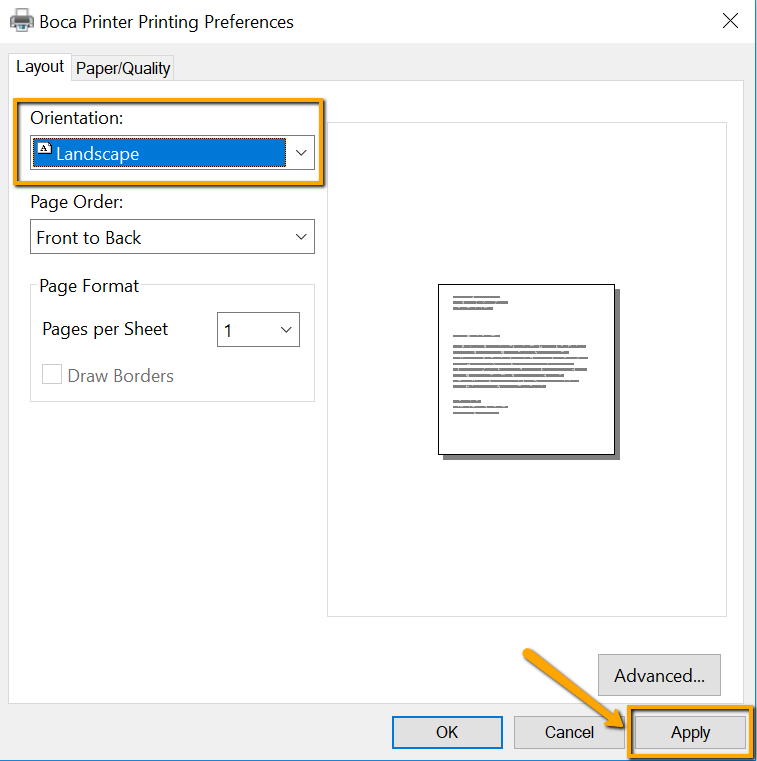
7. To change the default paper size, click “Advanced…”
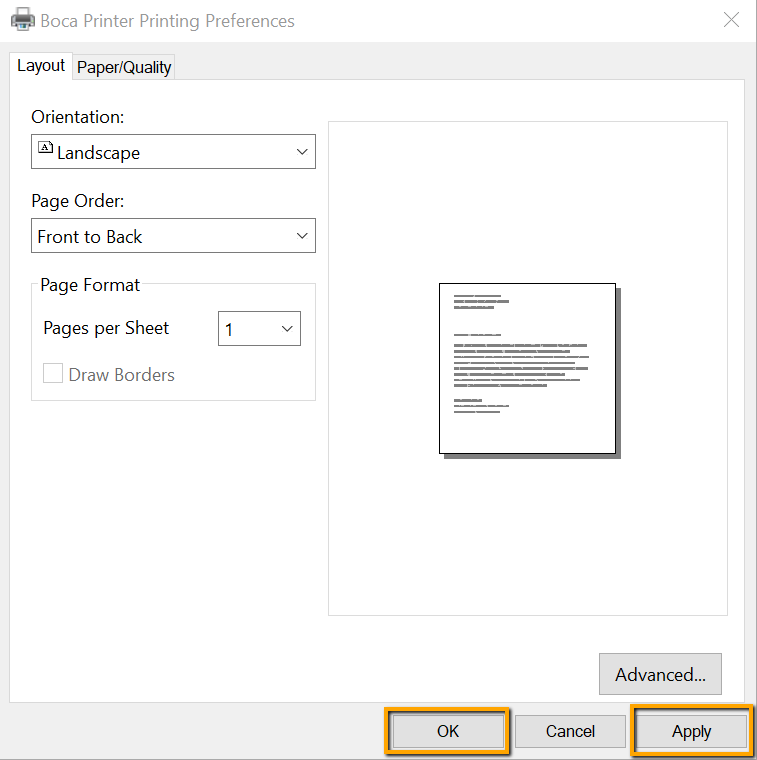
8. Change ‘Paper Size’ to Concert Ticket and hit ‘OK’

9. Hit ‘Apply’ then ‘OK’ to confirm your new printer settings
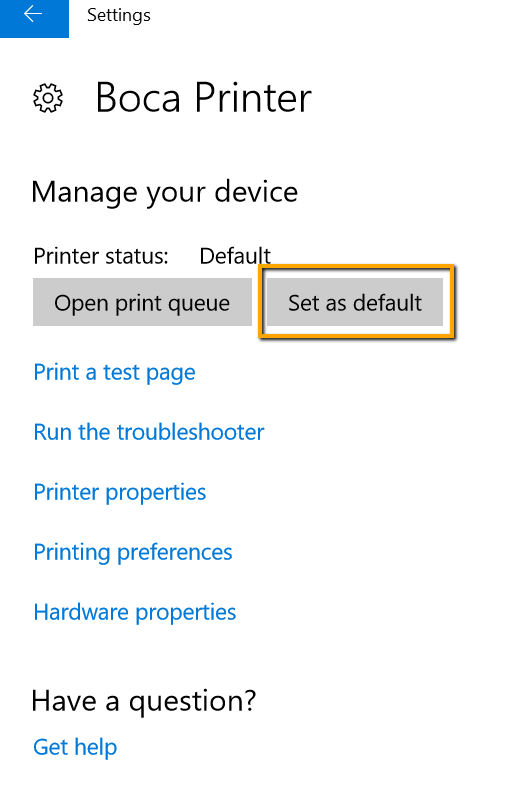
10. Set your BOCA printer to be the default printer to streamline the ticket printing process:
Supported Internet Browsers
After following the above instructions to set your printer defaults and for the best results printing BOCA tickets, please use the following internet browsers on the following operating systems:
Windows Supported Browsers
- Mozilla Firefox
- Microsoft Edge
- Internet Explorer
Mac Supported Browsers
- Google Chrome
- Safari
- Mozilla Firefox
Printing on Chrome for Windows
*Note: While we do support printing BOCA tickets on Chrome, Chrome on Windows does not adhere to the paper orientation settings and requires further settings to be altered on the physical BOCA printer. Please contact your support representative for further instructions on printing BOCA tickets on Chrome.
Enabling Boca Ticket Printing
When printing BOCA tickets, you have the option to print the price and/or service fees on the ticket in addition to the standard event information, barcode, and ticket type. This is useful for events that do not want comped tickets resold or wish to display price information.
- Select the event you wish to enable boca printing and go to Event Settings.
- Click More then the Box Office & Printing tab. Enable the BOCA Printing setting.

3. Once enabled, you will be given the option to print a test ticket, and show the price and/or service fees (not including cc processing fee) on the ticket. If you would like to print a test ticket after enabling price/fees, please hit ‘Save’ at the bottom of the page before continuing to print a test ticket.

4. BOCA printing will now be enabled on Box Office & Check In > Create an Order, as well as on an individual order.
How to Print Boca Tickets
There are two main use cases for printing BOCA tickets available on the ticketing platform:
- Box Office Printing using Day of Event Tools > Create an Order
- Will Call where printing occurs on a specific order
When viewing an order, you can print all tickets (with or without receipt) or an individual ticket.
- To print all tickets: Click the “Print to BOCA” button and select Tickets, Tickets + Receipt, or Receipt.
- To print individual tickets: Click the ticket icon to the right of the printer icon to print an individual ticket.
- Continue printing using the ‘Print Dialogue’ box that appears. Ensure that your paper size is Concert Ticket or BOCA 2x5.5 for Mac. Your tickets should now print to your BOCA printer.

Box Office Printing
- Navigate to Day of Event Tools > Create an Order
- Select your tickets & method of payment and complete the order
- Select either “Print to BOCA” to print all tickets, or select the individual ticket icon to print an individual ticket
Will Call Printing & Printing from an Order Lookup
- Navigate to Attendees > Orders
- Lookup the first name, last name, or email address of the orderer
- Select either “Print to BOCA” to print all tickets, or select the individual ticket icon to print an individual ticket
Connecting your Boca Printer to your MAC
Note: Do not connect your printer to your computer’s USB port until Step 4
We recommend Chrome on Mac, following the below steps!
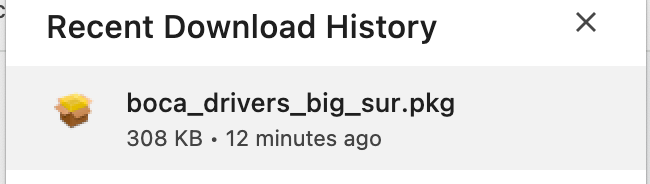
Download the Correct Driver
- Boca_driver (Cataline and older systems) version 3.10
- Boca drive (Big Sur and higher systems) version 3.3.0
- Once downloaded, open the file from your Downloads folder.
Install the Driver
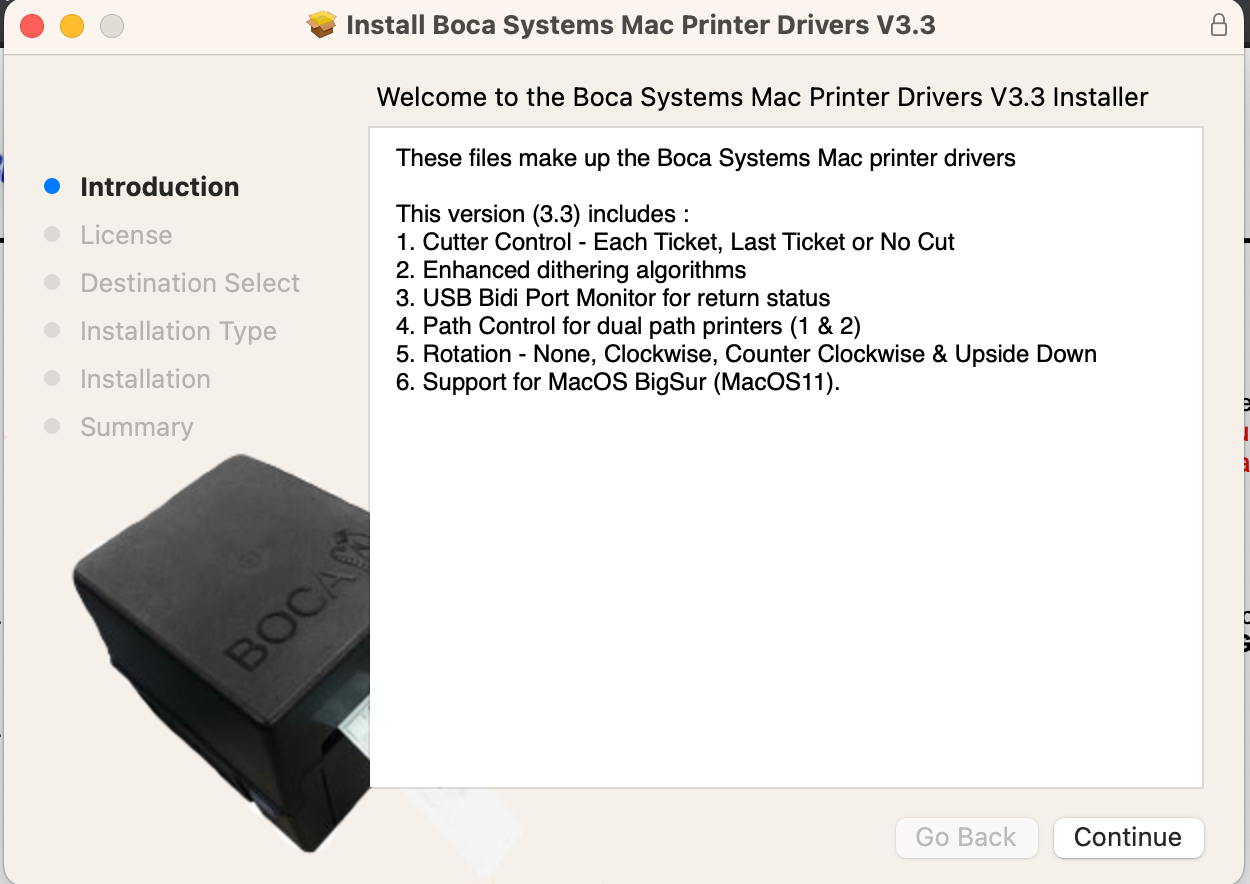
- Double-click the downloaded package.
- The installer window titled “Install Boca Systems Mac Printer Drivers” will open.
- Click Continue in the lower-right corner until you reach the Install screen.
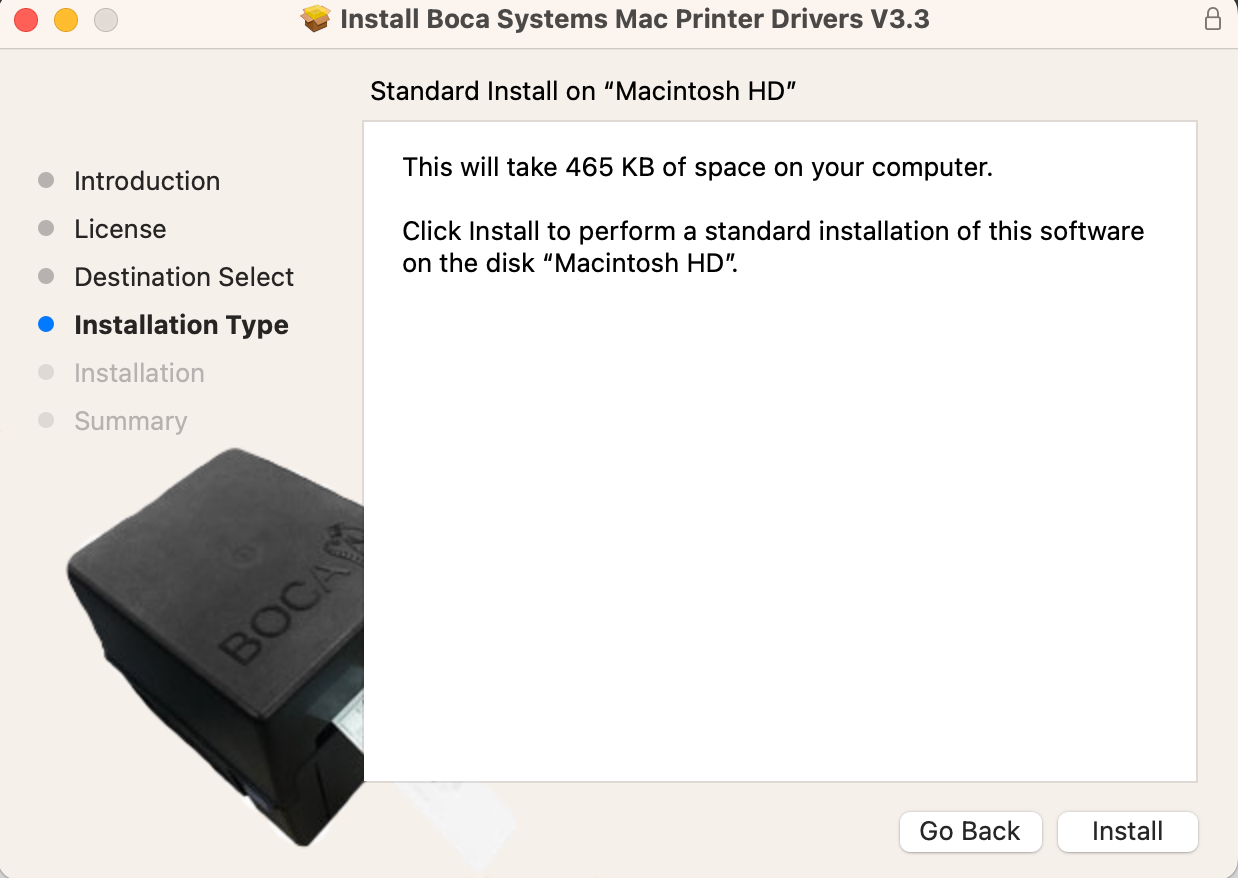
-
Click Install and complete the installation prompts.
If macOS Blocks the Driver (Security Settings)
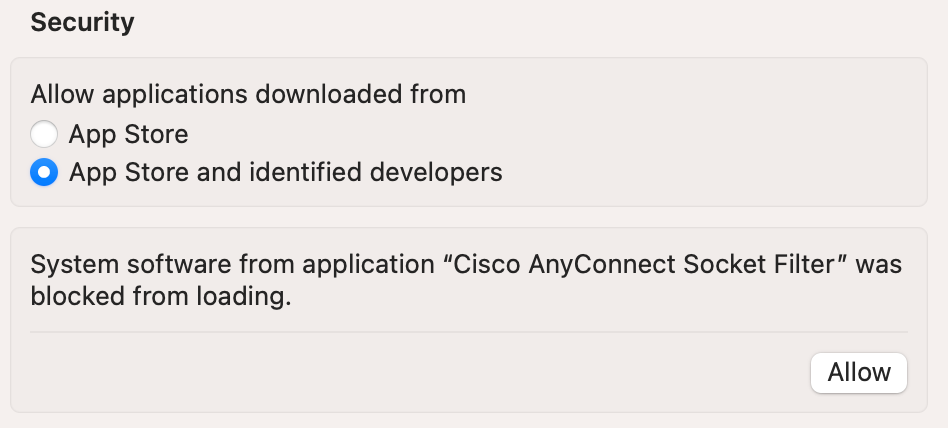
- If your Mac blocks the installation due to security restrictions:
- Open System Settings
- Go to Privacy & Security
- Scroll to the Security section
-
Look for the message:
“System software from application ‘Boca Systems Mac Printer Drivers Installer’ was blocked from loading.”
- Click Allow
- A blue “Customer Drivers Program” page may appear—this can be closed.
Add the BOCA Printer
- Open System Settings → Printers & Scanners
- If your printer is not listed, click Add Printer, Scanner, or Fax
- Select your BOCA Printer from the list
- Confirm the following fields populate:
- Name
- Location
- Use: (should automatically select the installed BOCA driver)

Click Add
Print a Test Ticket
Your BOCA printer should now be connected. You can print tickets through the TS backend to confirm everything is working correctly.